A Introduction to Color Grading in CapCut with Tutorial
Looking to improve your video's color grading in CapCut?
This guide shows you how to use CapCut's color grading for better video quality. From basic adjustments to advanced techniques, you'll learn how to make your videos look professional!
If you want to get started right away, don't forget to get your 10 free cinematic LUTs below!
Want 10 FREE Cinematic LUTs?
Enter your email and we'll deliver them now.
In This Article
What is Color Grading in CapCut?
Color grading in CapCut is the process of adjusting and enhancing the colors in a video to achieve a specific visual style or mood.
Using various tools within CapCut to modify aspects such as brightness, contrast, saturation, and hue, you can achieve cinematic color grading at a professional level.

CapCut's color grading tools provide a range of options for both beginners and professionals, allowing users to perform basic color correction as well as more advanced adjustments like HSL tweaks and RGB curve manipulation. Let's learn how to use them.
Preparing Footage for Color Grading
Effective color grading in CapCut begins with well-prepared footage. Key steps include:
- Shooting in Log Profile: Offers low contrast and saturation, capturing more dynamic range and detail for flexible post-production adjustments.
- Initial Enhancements: Begin with adjustments to contrast and saturation using LUTs or manual tweaks to create a baseline for further creative adjustments.
Proper preparation ensures a smooth and efficient color grading process, laying the groundwork for a visually compelling final product.
How to Get Started Color Grading in CapCut
Before diving into advanced topics, let's quickly explore where to find everything you need in CapCut to start making color adjustments. Here's how:
- Add the media you want to color grade to the timeline
- Click the media, and in the top right panel, click "Adjustment"

From here you have 5 main panels to choose from:
- Basic: The basic panel allows you to perform essential color adjustments like exposure, contrast, and saturation to establish the foundation for your video's visual tone. You can also add LUTs in CapCut from here.
- HSL: The HSL panel lets you fine-tune individual hues, saturation, and lightness of specific colors for precise color customization.
- Curves: The Curves panel provides control over brightness and contrast through manipulation of S-shaped curves affecting highlights, midtones, and shadows.
- Color wheel: The Color Wheel panel enables adjustments to shadows, midtones, and highlights, ensuring a balanced color scheme across your footage.
- Mask: The Mask panel allows you to apply color adjustments selectively to specific areas of your video, offering greater creative flexibility.

Now you're familiar with everything, let's take a closer look at what each of these color grading tools can do, and when you might want to use them in your video editing.
Basic
Once your footage is ready, start with basic adjustments. CapCut's tools allow you to enhance your video's color and visual tone effectively. Begin by adjusting exposure, contrast, brightness, saturation, temperature, and tint. These foundational tweaks set the stage for advanced color grading.
Here are some of the main features on the Basic panel:
- Contrast: Adjusting contrast enhances the separation between light and dark areas, adding depth and dimension to your footage.
- Saturation: This adjustment controls color intensity; increasing it makes colors more vibrant, while decreasing it creates a muted effect.
- Brightness: Modifying this setting determines how light or dark your video appears, ensuring all details are visible.
- Contrast: These enhance the separation between light and dark areas, adding depth and dimension to your footage.
- Highlights: Adjusting these improves clarity in the brightest sections, maintaining a polished and professional look.
Don't be scared to jump and and start moving the sliders around. Remember, the default value for all sliders is zero, so if you want to change back just reset everything to zero!
HSL
The HSL panel in CapCut is a color editing tool that lets you adjust specific color ranges independently. It allows precise control over the Hue, Saturation, and Lightness of individual colors (like reds, blues, greens, etc.) in your video.

Use the HSL panel when you want to:
- Adjust or shift specific colors without affecting others
- Fine-tune skin tones
- Make certain objects pop by enhancing their color
- Selectively desaturate or boost particular color ranges
- Create stylistic color grading effects by targeting specific hues
The HSL adjustments you make here give an opportunity to make some really unique cinematic color grading LUTs in CapCut!
Curves
The Curves panel in CapCut is a powerful tool that gives you precise control over the image's tones by manipulating a diagonal line on a graph. You can adjust different brightness levels independently by creating points along the curve, affecting shadows, midtones, and highlights.

Think of the Curves panel as a detailed light dimmer switch where instead of controlling all the lights at once, you can adjust the brightness of your dark rooms, mid-lit hallways, and bright spaces independently, all by pushing or pulling different parts of the line.
Use the Curves panel when you want to:
- Fine-tune contrast and brightness with more precision than basic controls
- Create stylistic looks by adjusting specific tonal ranges
- Correct exposure issues in specific brightness regions
- Add a cinematic feel by crushing blacks or lifting shadows
- Make S-curves for enhanced contrast while preserving detail
Color Wheel
The Color wheel in CapCut is a visual tool that provides intuitive control over your video's color balance and mood. It features three wheels for shadows, midtones, and highlights, allowing you to push colors into different tonal ranges of your footage.

Pro tip: Drag and drop the bottom of the Color wheel panel to make it the full vertical height as seen above.
Think of the Color wheel as an artist's palette where you can paint different colors into the shadows, midtones, and highlights of your video, just like a painter would blend different shades to create depth and atmosphere.
Use the Color wheel when you want to:
- Create specific moods by adding colors to shadows or highlights
- Balance out unwanted color casts in different tonal ranges
- Achieve popular cinematic looks like orange and teal
- Add subtle color tinting to enhance the emotional impact
- Cross-process your footage for creative effect
Mask
The Mask panel in CapCut is a selective adjustment tool that lets you apply color corrections to specific areas of your video. It provides various masking tools including brush, linear, and radial options to target precise regions for adjustment.

Think of the Mask panel as a painter's masking tape that lets you protect certain areas while making adjustments to others, allowing for precise and professional-looking results.
Use the Mask panel when you want to:
- Draw attention to specific subjects by enhancing their colors
- Create depth by selectively adjusting brightness
- Correct exposure in specific areas without affecting others
- Add creative gradient effects to your footage
- Enhance or subdue elements within your frame
- Create original color based transitions
A Quickstart Guide to Cinematic Color Grading in CapCut
Getting started with color grading in CapCut doesn't have to be complicated. Here's a simple workflow to create visually appealing cinematic looks, perfect for beginners exploring post-production color grading.
1. Prepare Your Foundation
First, import your footage to CapCut and select your clip in the timeline. Navigate to the "Adjustment" panel in the top right. This is where all the magic happens!
2. Basic Panel Setup
Start by creating a flatter image that's perfect for color grading. Think of this like preparing a blank canvas. In the Basic panel:
- Lower contrast slightly (-5 to -10)
- Reduce saturation slightly (-5 to -10)
- Adjust exposure until you have balanced brightness
3. Add Cinematic Depth
Next, head to the Curves panel. This is where you'll create that cinematic contrast that makes your footage really stand out. Create a subtle S-curve by gently manipulating the line. Remember, subtle adjustments are key to mastering color grading.
Pro tip: Click the "Reset" icon in the top right to undo any changes to the Curves panels
4. Color Balance for Mood
The Color Wheel is your best friend for creating that cinematic color grading look. Here's a simple approach:
- Add a subtle blue tint to shadows
- Introduce slight warmth to highlights
- Keep adjustments minimal, less is more!
5. Fine Tuning Your Look
Finally, use the HSL panel to perfect your grade. Focus on skin tones first, then adjust other colors to taste. Many cinematic looks have slightly desaturated greens and enhanced blues -- experiment to find what works for your footage.
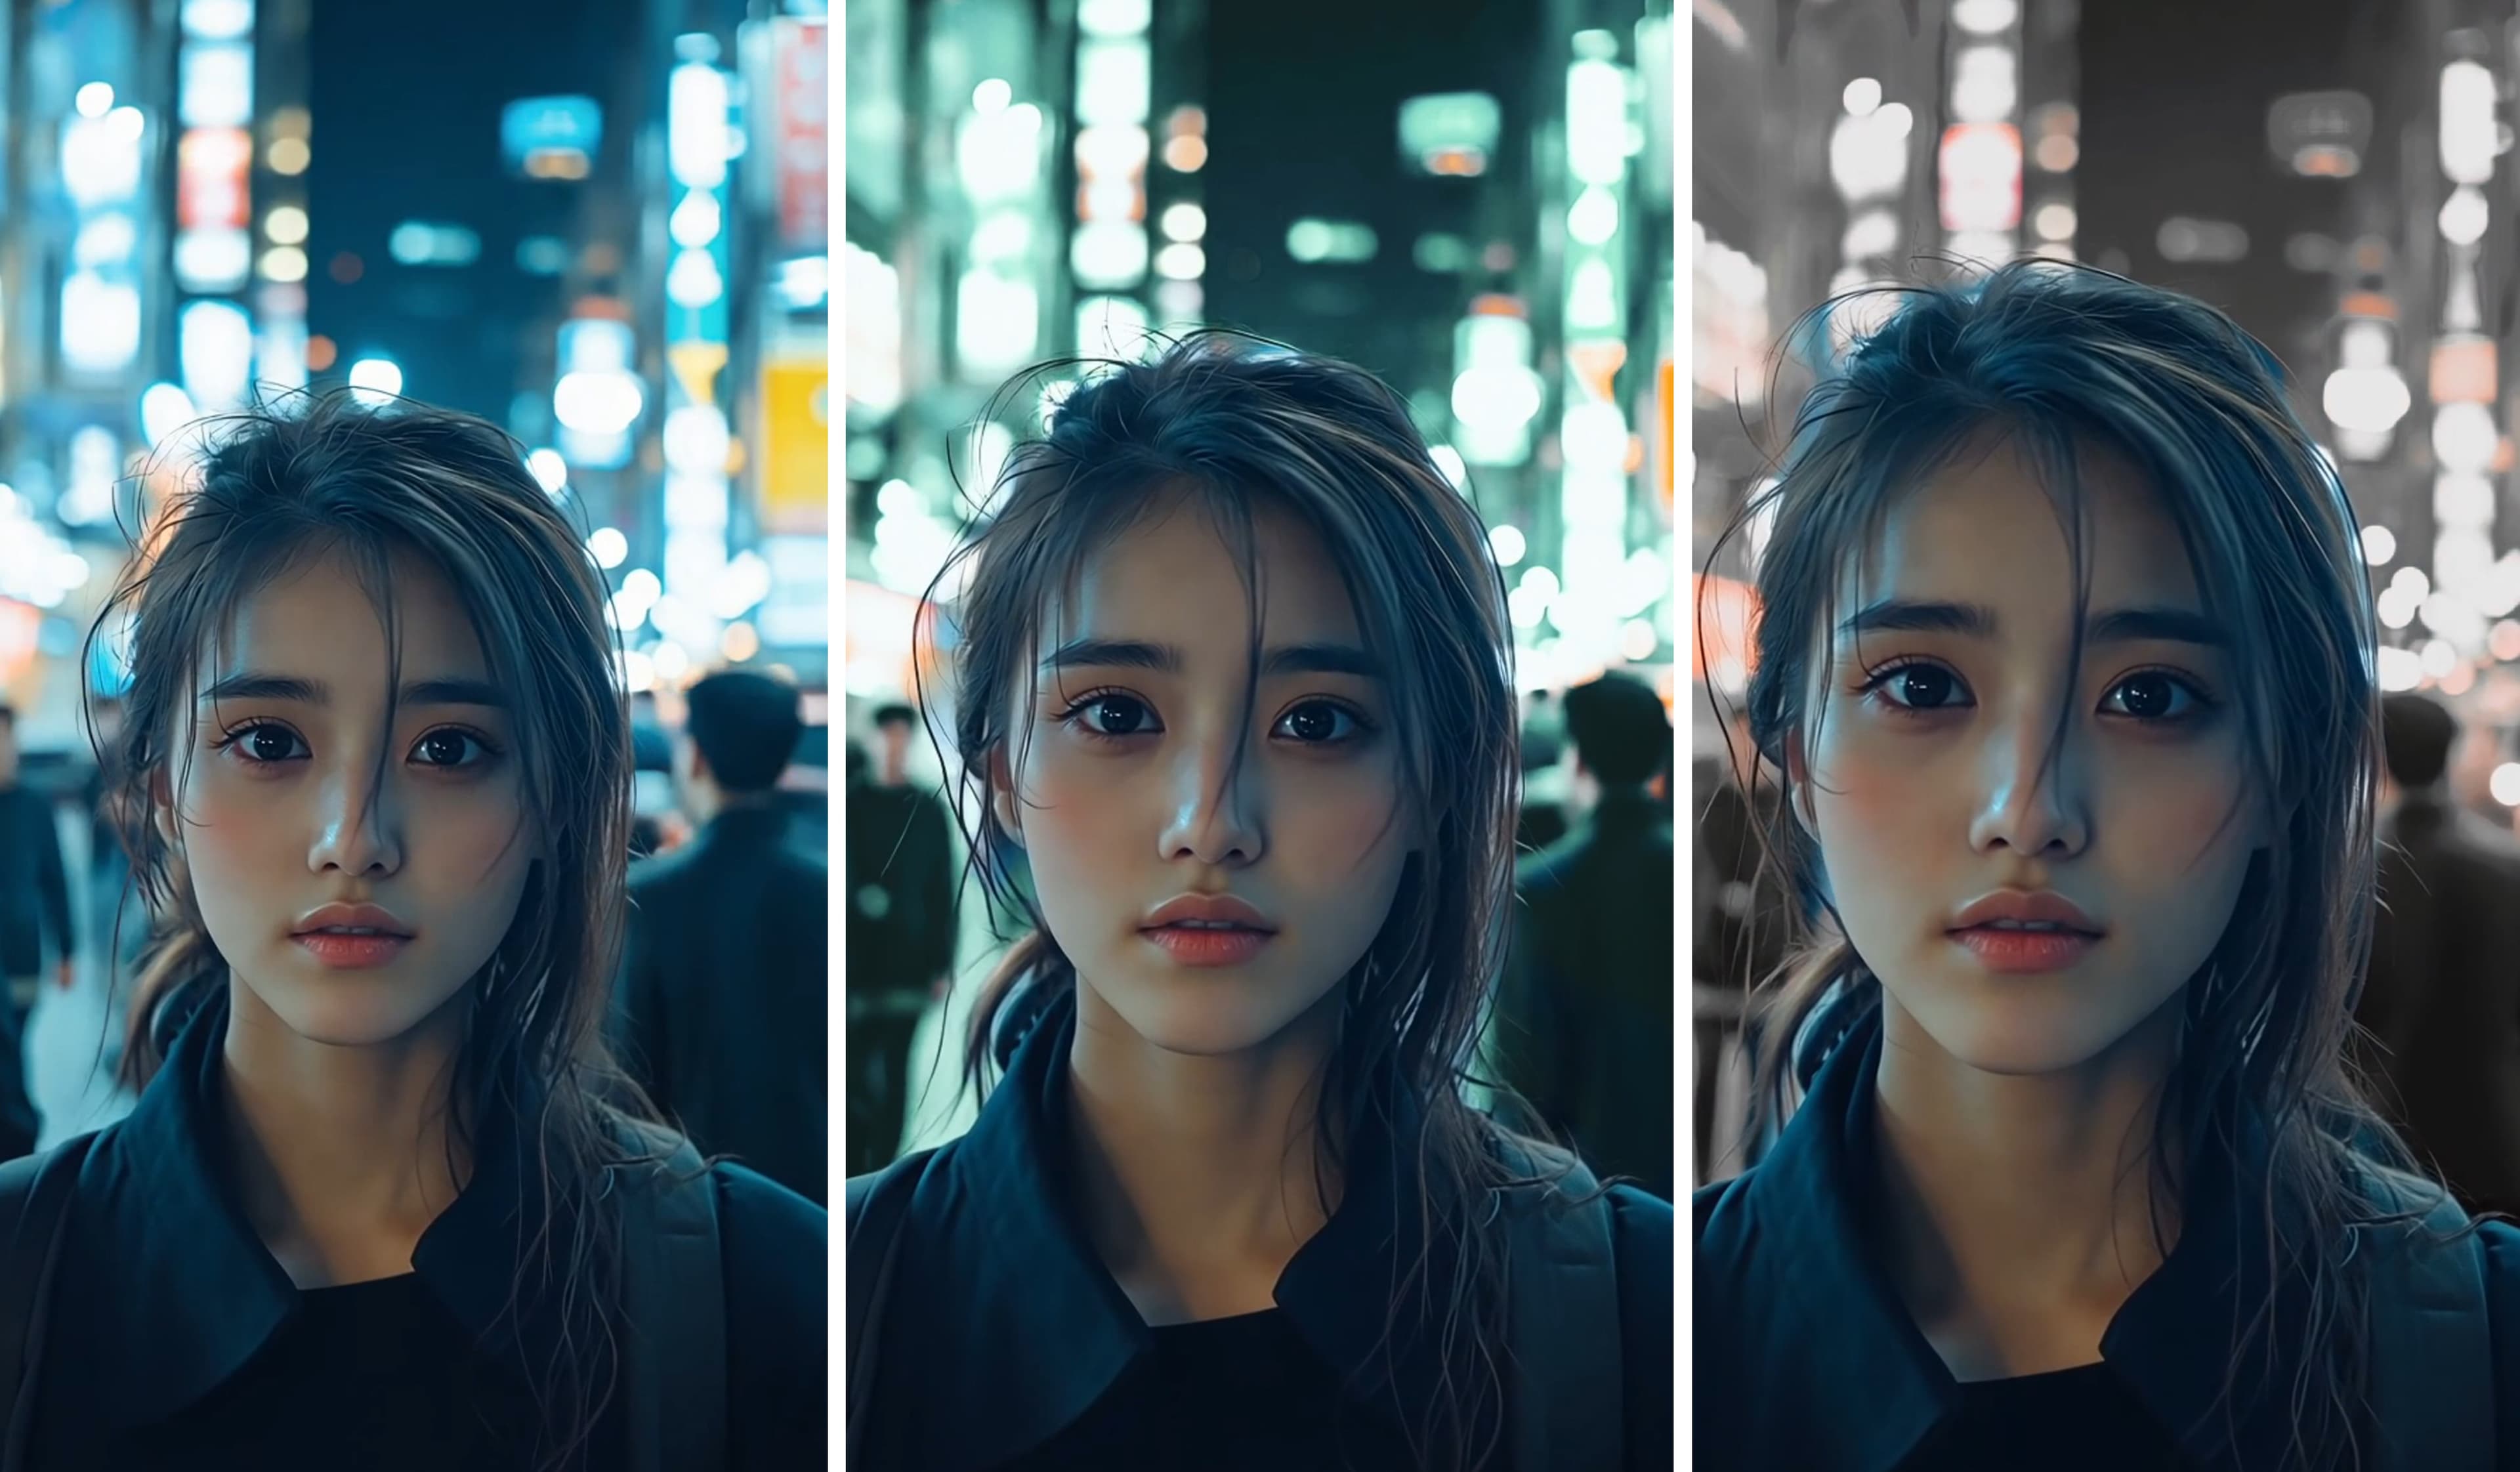
Check out this before and after example from making the few simple cinematic color grading tweaks seen here:

Notice the SUBTLE improvements? This is what we want when starting the cinematic color grading process in CapCut!
Pro Tip: Remember that the most professional cinematic color grading often comes from subtle, intentional adjustments rather than dramatic effects. Start with small changes and build up gradually as you develop your style!
Want 10 FREE Cinematic LUTs?
Enter your email and we'll deliver them now.
Wrapping Up
Color grading in CapCut transforms your footage into visually compelling stories. From basic adjustments to advanced techniques, each step enhances the quality and impact of your videos.
Experimentation and practice are key to mastering these tools and developing your unique style. Dive into your color grading projects with confidence and creativity, knowing you have the skills to create unique visuals!
Happy editing. 😎
Color Grading in CapCut: FAQs
Why is shooting in a log profile important for color grading?
Shooting in a log profile is essential for color grading because it offers increased dynamic range and greater flexibility during post-production, allowing for improved detail retention in both shadows and highlights. This results in more nuanced and precise color corrections.
How do I import footage into CapCut?
To import footage into CapCut, simply click the import button in the upper left corner, and you'll be able to access your media library immediately.
What are the basic adjustments I should make in CapCut?
To enhance your video in CapCut, focus on adjusting exposure, contrast, brightness, saturation, temperature, and tint. These fundamental tweaks will establish a strong foundation for any advanced color grading you may want to apply.
How can I ensure my color grading is accurate?
To ensure accurate color grading, utilize tools like the Color Oscilloscope and Vector Scope for assessment and balance, while avoiding over-adjustment to maintain a natural appearance. Accurate tools and moderation are key to achieving professional results.
Why is music important in color-graded videos?
Music is essential in color-graded videos as it complements the visuals and enhances the overall mood, significantly increasing the emotional impact. Utilizing resources like CapCut's library or free music websites can help you find suitable tracks for your projects.


